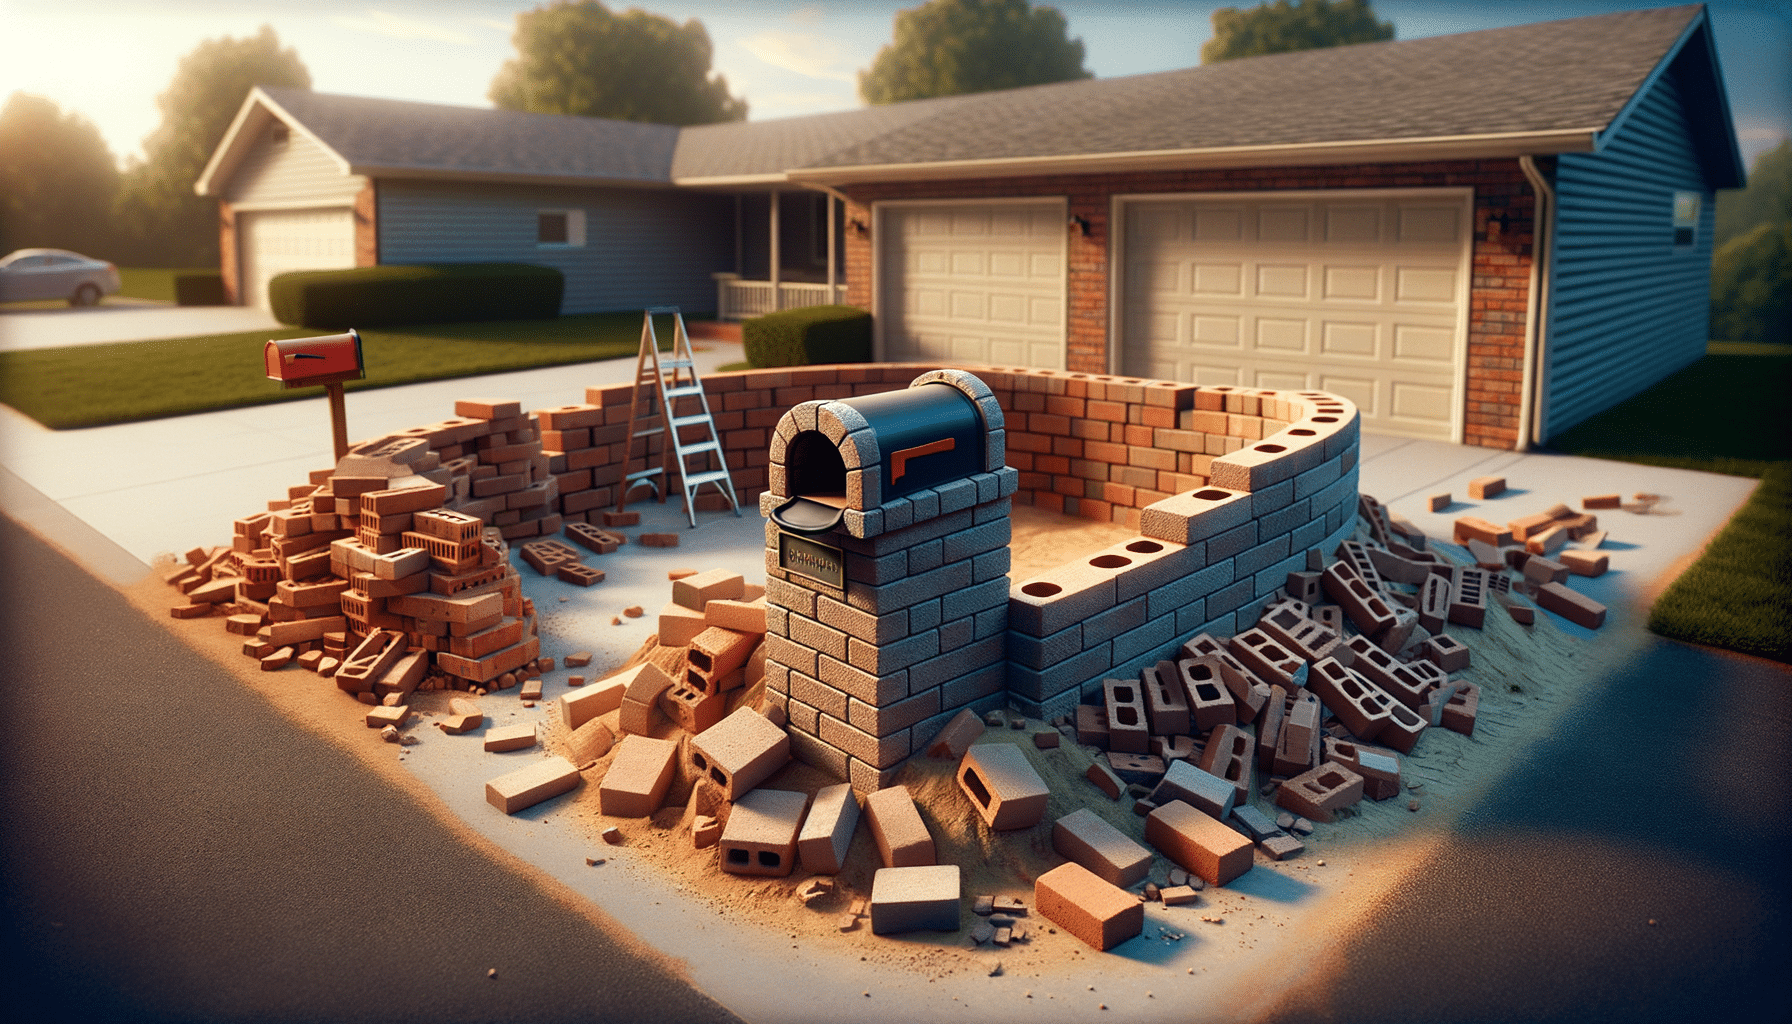
Brick Mailbox Installation: A Comprehensive Guide
Introduction to Brick Mailbox Installation
Installing a brick mailbox is not just about enhancing the curb appeal of your home; it can also significantly increase property value. Brick mailboxes are renowned for their durability and aesthetic appeal, making them a popular choice among homeowners. This guide will walk you through the process of brick mailbox installation, providing you with the knowledge to undertake this rewarding project.
Planning Your Brick Mailbox Project
Before diving into the construction, it’s essential to plan your brick mailbox project thoroughly. Consider the location, design, and size of your mailbox. Ensure that the chosen spot complies with local postal regulations and any homeowner association guidelines. Planning also involves budgeting for materials and tools, which typically include bricks, mortar, a trowel, and a level. A well-thought-out plan will save you time and effort in the long run.
- Choose a design that complements your home’s architecture.
- Check local regulations for placement and size requirements.
- Calculate the number of bricks and other materials needed.
- Consider any additional features like lighting or a newspaper slot.
By planning ahead, you can ensure a smooth and efficient installation process.
Gathering Materials and Tools
Once you have a plan in place, the next step is gathering the necessary materials and tools. The choice of bricks is crucial, as it affects both the appearance and durability of your mailbox. Opt for bricks that match or complement your home’s exterior. You will also need high-quality mortar to ensure the bricks are securely bonded. Essential tools include a trowel for spreading mortar, a level to ensure the structure is even, and a brick hammer for shaping bricks as needed.
- Bricks: Choose durable, weather-resistant bricks.
- Mortar: A strong, weatherproof mortar is essential.
- Tools: Trowel, level, brick hammer, and safety gear.
Having all materials and tools ready before starting the project will make the process more efficient and enjoyable.
Step-by-Step Installation Process
With your materials and tools in hand, you can begin the installation. Start by laying a solid foundation, which is critical for stability. Dig a hole and pour a concrete slab, ensuring it is level. Once the foundation is set, begin laying bricks, applying mortar between each layer. Use a level frequently to maintain evenness. As you build, remember to leave space for the mailbox insert and any additional features you planned.
- Prepare the foundation: Dig and pour a concrete slab.
- Lay bricks: Use mortar to bond bricks, checking alignment.
- Install mailbox insert: Ensure it is securely positioned.
- Finish with additional features: Add any planned extras.
This step-by-step approach will help you create a sturdy and attractive brick mailbox.
Final Touches and Maintenance
After completing the installation, focus on the final touches and maintenance to ensure longevity. Clean any excess mortar from the bricks and apply a sealant for added protection against the elements. Regular maintenance includes checking for any loose bricks or mortar and addressing them promptly. By taking care of your brick mailbox, you can enjoy its beauty and functionality for years to come.
- Clean excess mortar: Use a brush or cloth.
- Apply sealant: Protects against weather damage.
- Regular inspections: Check for loose bricks or cracks.
With proper care, your brick mailbox will remain a charming feature of your home’s exterior.


