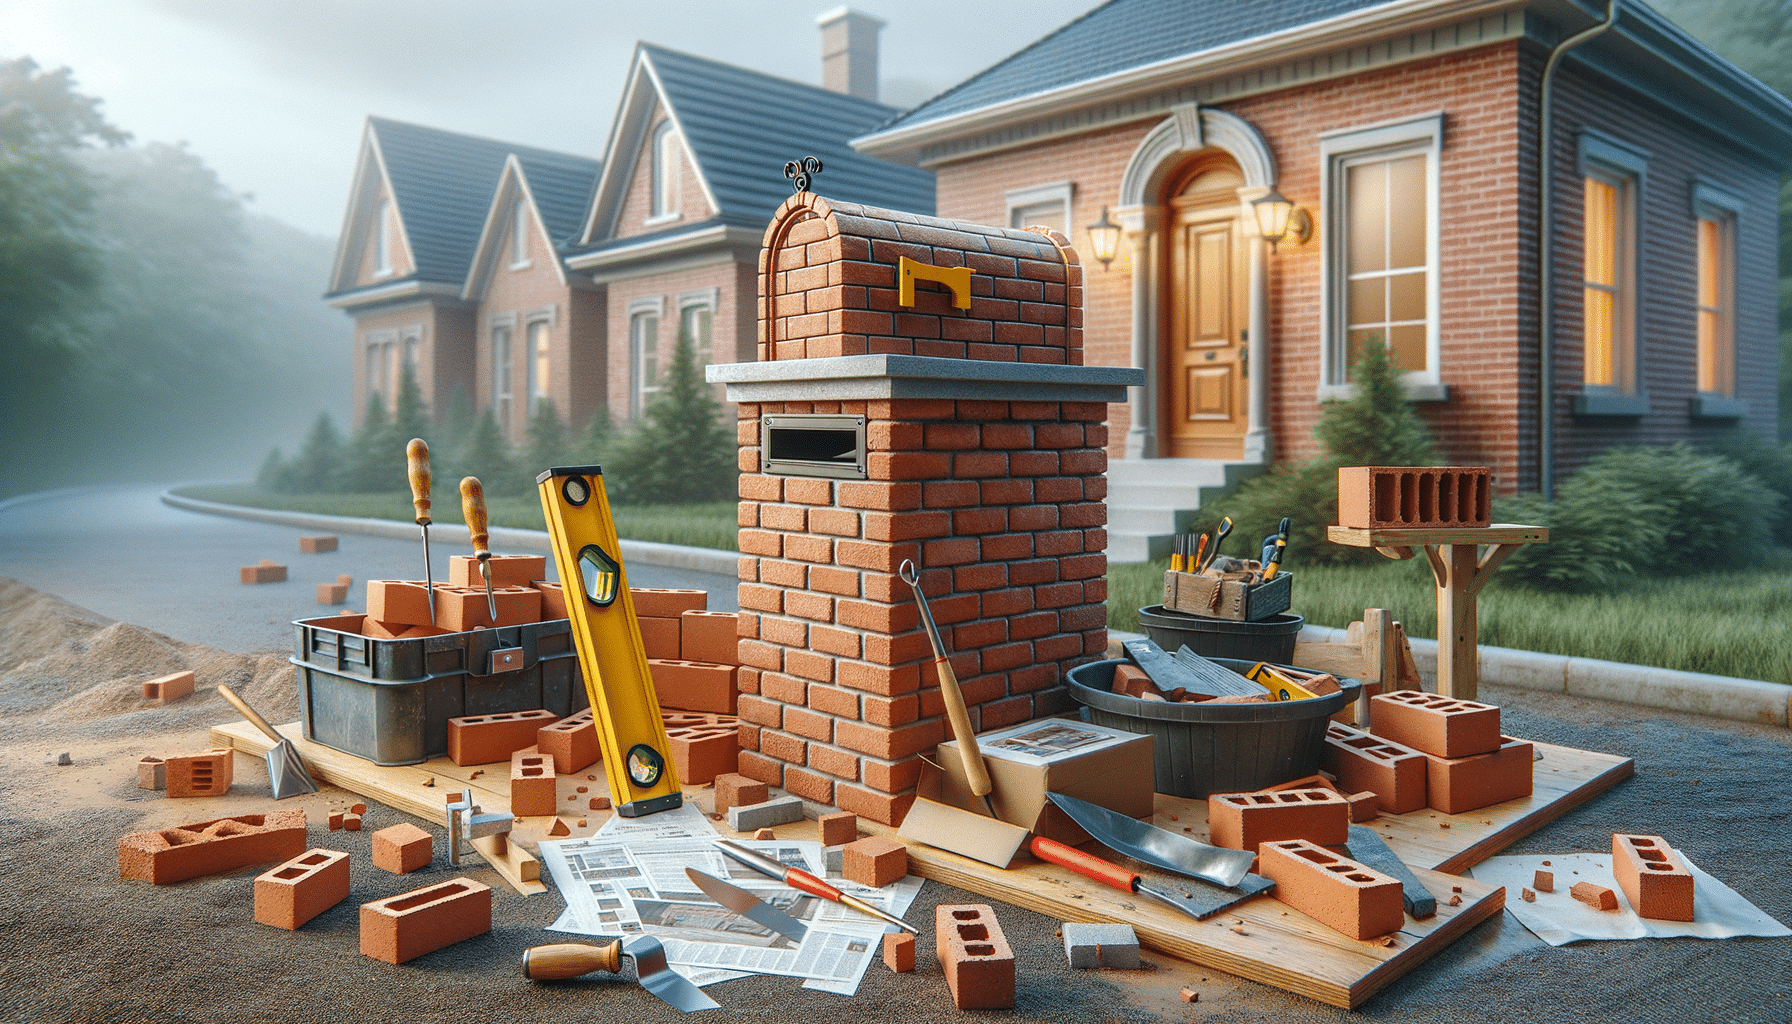
Mastering Brick Mailbox Installation: A Comprehensive Guide
Introduction to Brick Mailbox Installation
Brick mailboxes are a popular choice for homeowners looking to add a touch of elegance and durability to their property. Unlike standard mailboxes, brick structures offer a robust and aesthetically pleasing solution that can significantly enhance curb appeal. This article delves into the intricacies of brick mailbox installation, providing valuable insights and practical tips for those considering this upgrade.
Planning Your Brick Mailbox Project
Before embarking on a brick mailbox installation, careful planning is essential. Start by determining the location, ensuring it complies with local regulations and postal service requirements. Consider the design and materials, as these will influence both the cost and the visual outcome. Key planning steps include:
- Checking local zoning laws and regulations.
- Designing a mailbox that complements your home’s architecture.
- Choosing high-quality bricks and mortar for durability.
Proper planning sets the foundation for a successful installation, minimizing potential setbacks and ensuring a smooth process.
Gathering Materials and Tools
Once the planning phase is complete, gathering the necessary materials and tools is the next step. Essential materials include bricks, mortar, and a mailbox insert. Tools required often include a trowel, level, and a masonry saw. It’s crucial to invest in quality materials to ensure the longevity of your mailbox. Additionally, having the right tools at hand will facilitate a more efficient building process.
- Bricks: Opt for weather-resistant options.
- Mortar: Choose a mix suitable for outdoor use.
- Mailbox Insert: Ensure it fits securely within the brick structure.
Equipped with the right materials and tools, you are well-prepared to begin the construction process.
Step-by-Step Installation Process
Installing a brick mailbox involves several key steps, each requiring attention to detail. Begin by laying a solid foundation, typically a concrete slab, to support the weight of the structure. Follow these steps for a successful build:
- Prepare the site by marking the location and digging a foundation hole.
- Pour concrete into the hole and allow it to set.
- Lay bricks in a staggered pattern, ensuring each layer is level.
- Insert the mailbox unit and continue building around it.
- Finish with a capstone for added protection and aesthetics.
Each step requires precision and patience, but the result is a sturdy and attractive mailbox that stands the test of time.
Maintenance and Longevity Tips
To keep your brick mailbox looking its best, regular maintenance is necessary. Inspect the structure periodically for any signs of damage, such as cracks or loose bricks. Addressing these issues promptly will prevent further deterioration. Additionally, consider these maintenance tips:
- Seal the bricks to protect against moisture and weathering.
- Clean the mailbox regularly to remove dirt and debris.
- Reapply mortar as needed to maintain structural integrity.
With proper care, your brick mailbox can remain a beautiful and functional feature of your home for many years.
Conclusion: Enhancing Your Home with a Brick Mailbox
Installing a brick mailbox is a worthwhile investment that enhances both the aesthetic and functional aspects of your property. By following a well-planned approach and maintaining the structure, you can enjoy the benefits of a durable and attractive mailbox for years to come. Whether you’re a DIY enthusiast or prefer to hire a professional, understanding the process and requirements is key to achieving a successful installation.


